How to Prepare Your Walls for Wallpaper Installation


Understanding the Importance of Proper Preparation
Before diving into the exciting task of installing wallpaper, it's crucial to understand that proper wall preparation is essential for achieving a flawless finish. Neglecting this step can lead to issues like air bubbles, peeling, and uneven surfaces, which can ruin the aesthetic appeal of your new wallpaper. By investing time in preparation, you ensure your wallpaper adheres properly and lasts longer.
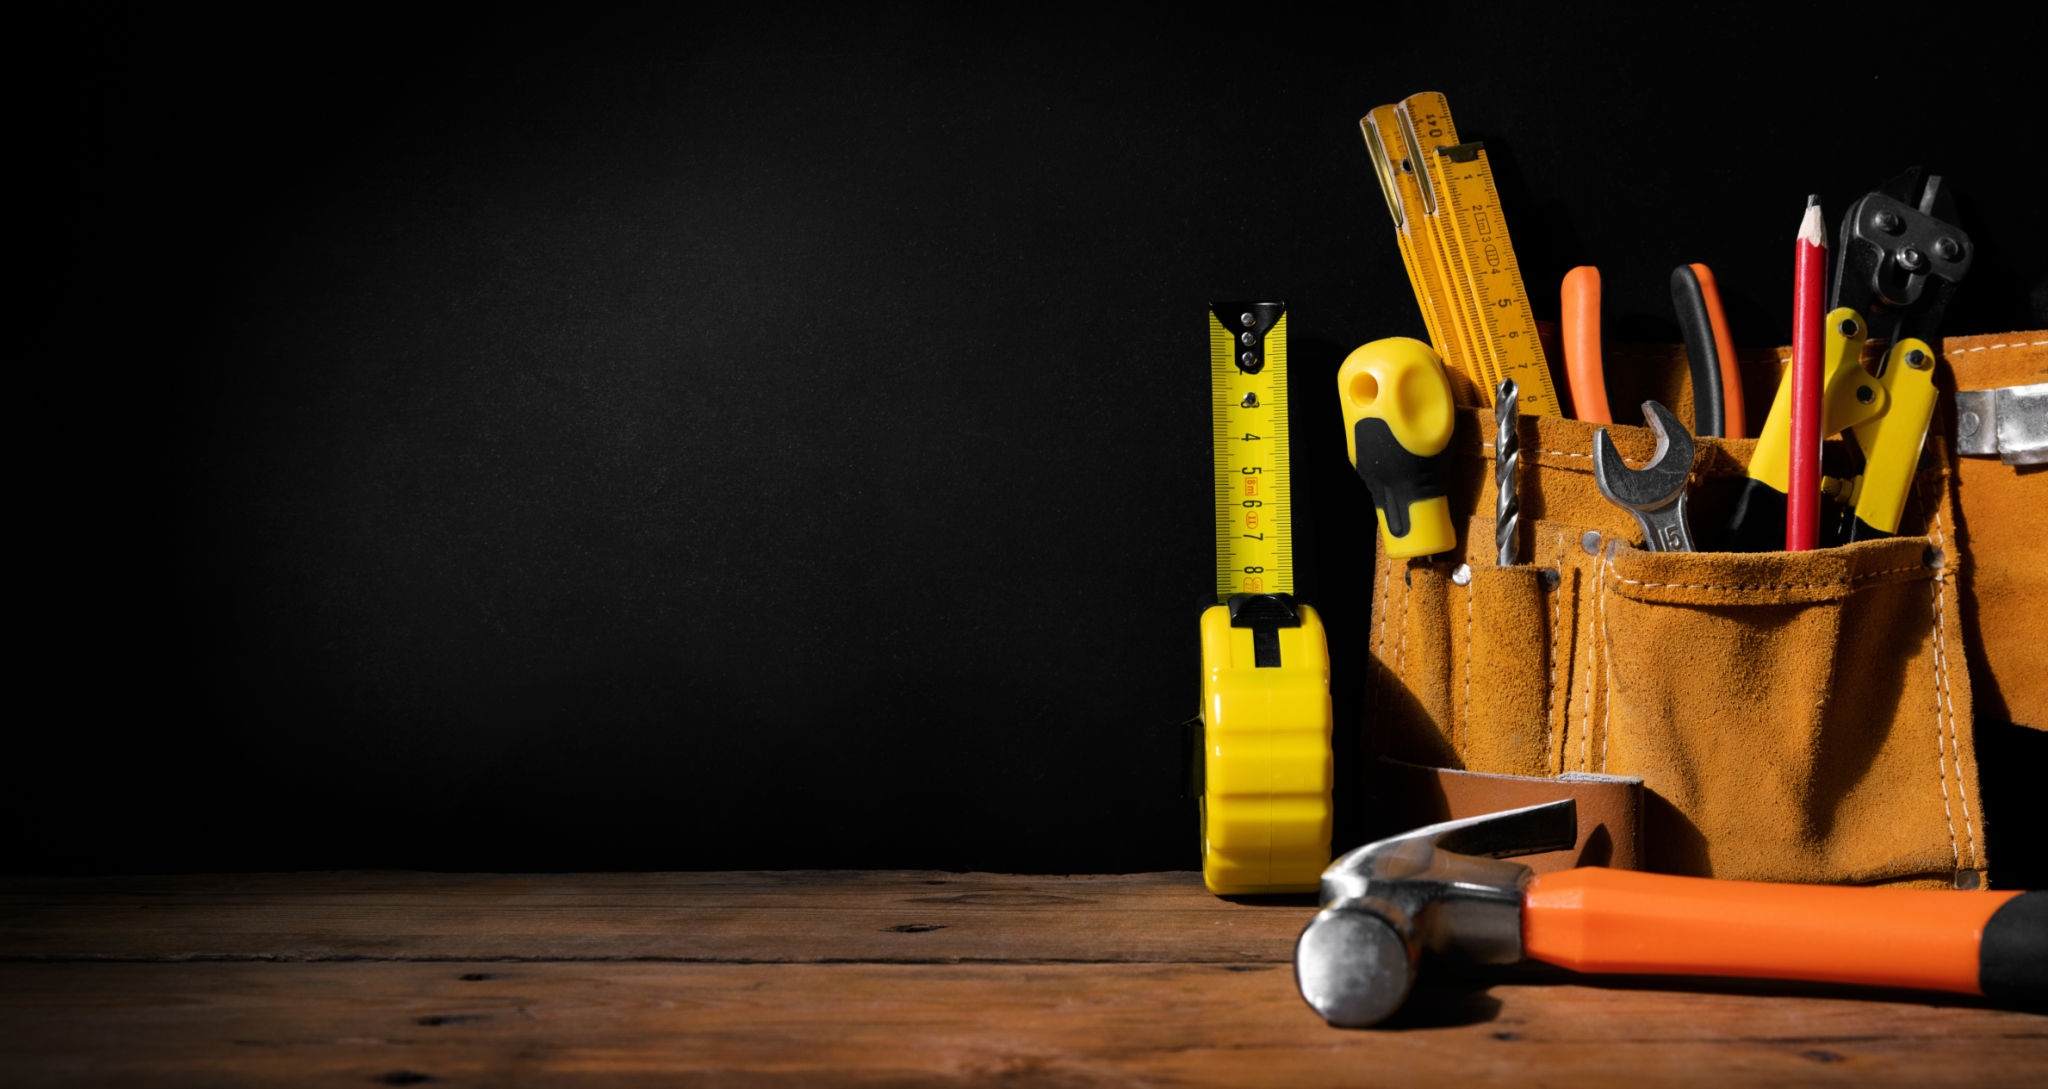
Gathering the Necessary Tools and Materials
To get started, gather all the necessary tools and materials. You'll need a scraper, sandpaper, a sponge or cloth, a bucket, mild detergent, primer, and possibly a filler for any cracks. Having these items on hand will make the process more efficient and help you achieve the desired results.
Removing Old Wallpaper
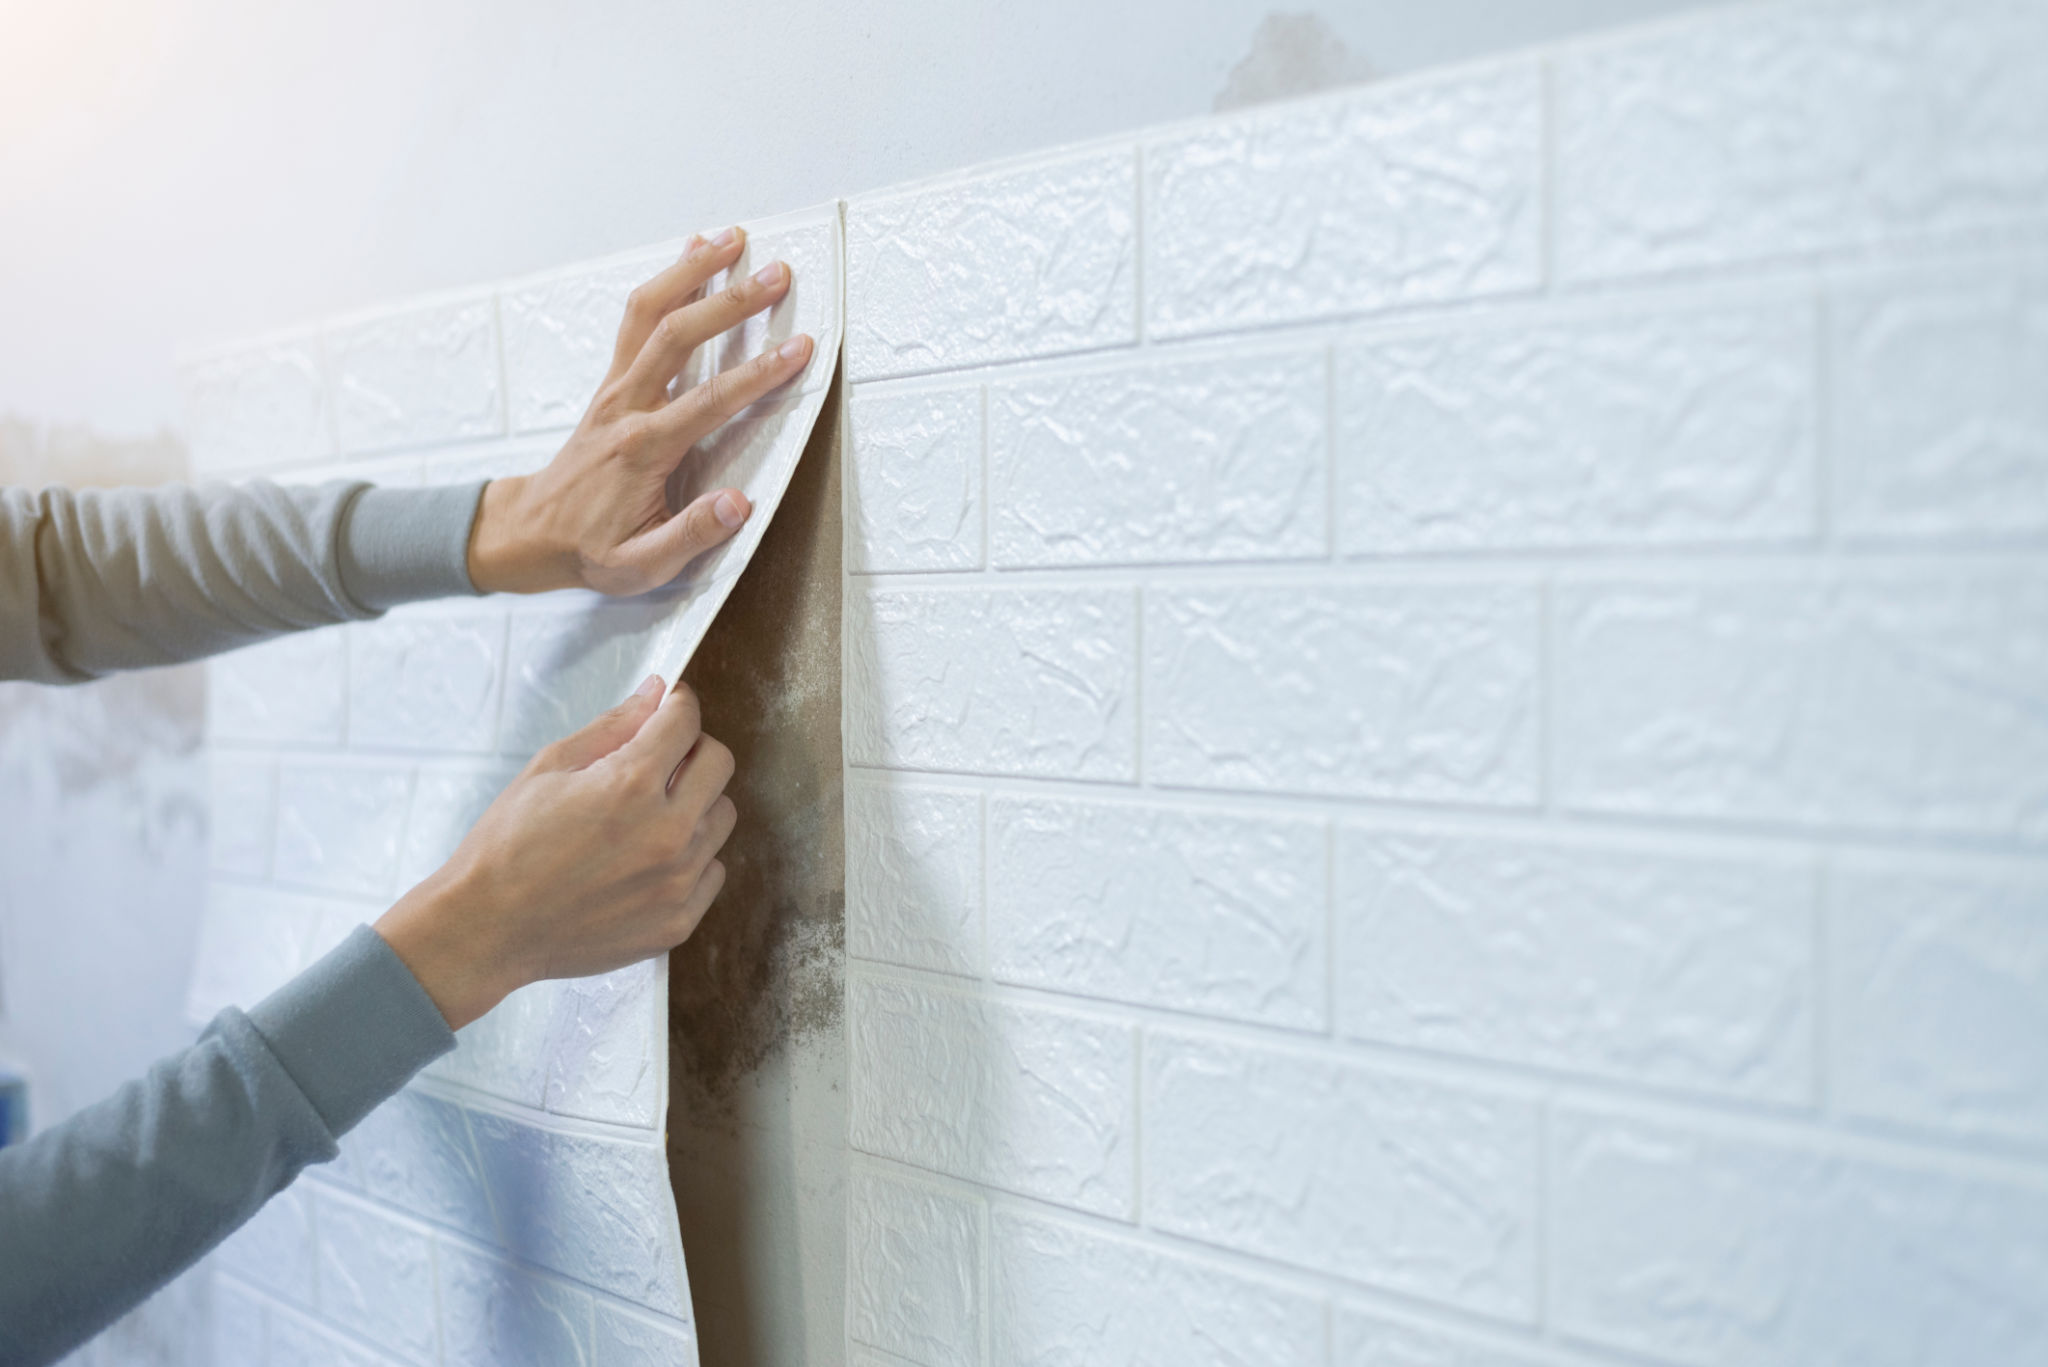
If there's existing wallpaper on your walls, it's essential to remove it completely. Use a scraper to gently peel off the old wallpaper. If it's stubborn, consider using a wallpaper steamer or applying a wallpaper removal solution to loosen the adhesive. This step is vital as new wallpaper does not adhere well to old layers.

Cleaning and Repairing the Walls
Once the old wallpaper is removed, thoroughly clean the walls with a mild detergent mixed in water. Use a sponge or cloth to wipe away dirt, dust, and any remaining adhesive. After cleaning, inspect the walls for any cracks or holes that need filling. Use a suitable filler to repair these imperfections and sand them smooth once dried.
Smoothing and Priming the Surface
To ensure your new wallpaper goes on smoothly, take the time to sand the walls lightly. This process will help eliminate any rough patches or texture that could disrupt the wallpaper's appearance. After sanding, apply a primer to create an even surface and improve adhesion. A good primer is crucial for preventing mold and mildew, especially in humid areas like bathrooms.

Allowing Time for Drying
After applying primer or any filler, it's important to allow sufficient drying time. Follow the manufacturer's instructions for drying times to avoid rushing the process. Proper drying ensures that the surface is ready for wallpaper installation without any moisture-related issues.
Double-Checking Your Work
Before you start hanging wallpaper, double-check your work. Run your hands over the wall to ensure it's smooth and free of imperfections. Look for any missed spots that may need additional sanding or filling. This final check will save you from potential headaches during the wallpaper installation process.
Final Preparations Before Installation
Once you're confident that your walls are perfectly prepped, you're ready to move on to the exciting part—installing your chosen wallpaper. Make sure your workspace is clean and organized, with all your tools within easy reach. This preparation sets the stage for a smooth and enjoyable wallpaper installation experience.