
A Painter’s Guide to Preparing Your Interior Walls


Understanding the Importance of Wall Preparation
When it comes to painting your interior walls, preparation is key. Proper preparation not only ensures a smooth and long-lasting finish but also saves you time and money in the long run. Before you even think about dipping your brush into that can of paint, make sure your walls are ready to receive it.
Preparation involves more than just cleaning the surface. It includes repairing any imperfections, sanding, and priming. Each step plays a crucial role in achieving a professional-looking result that you can be proud of.

Gathering Your Materials
Before starting the preparation process, gather all necessary materials to avoid interruptions. Essential items include:
- Cleaning supplies: A mild detergent and water solution or a specialized wall cleaner.
- Repair materials: Spackle or joint compound for filling holes and cracks.
- Sanding tools: Sandpaper or a sanding block for smoothing surfaces.
- Primer: A suitable primer to ensure paint adhesion.
- Painter's tape: To protect areas you don't want to paint.
Cleaning the Walls
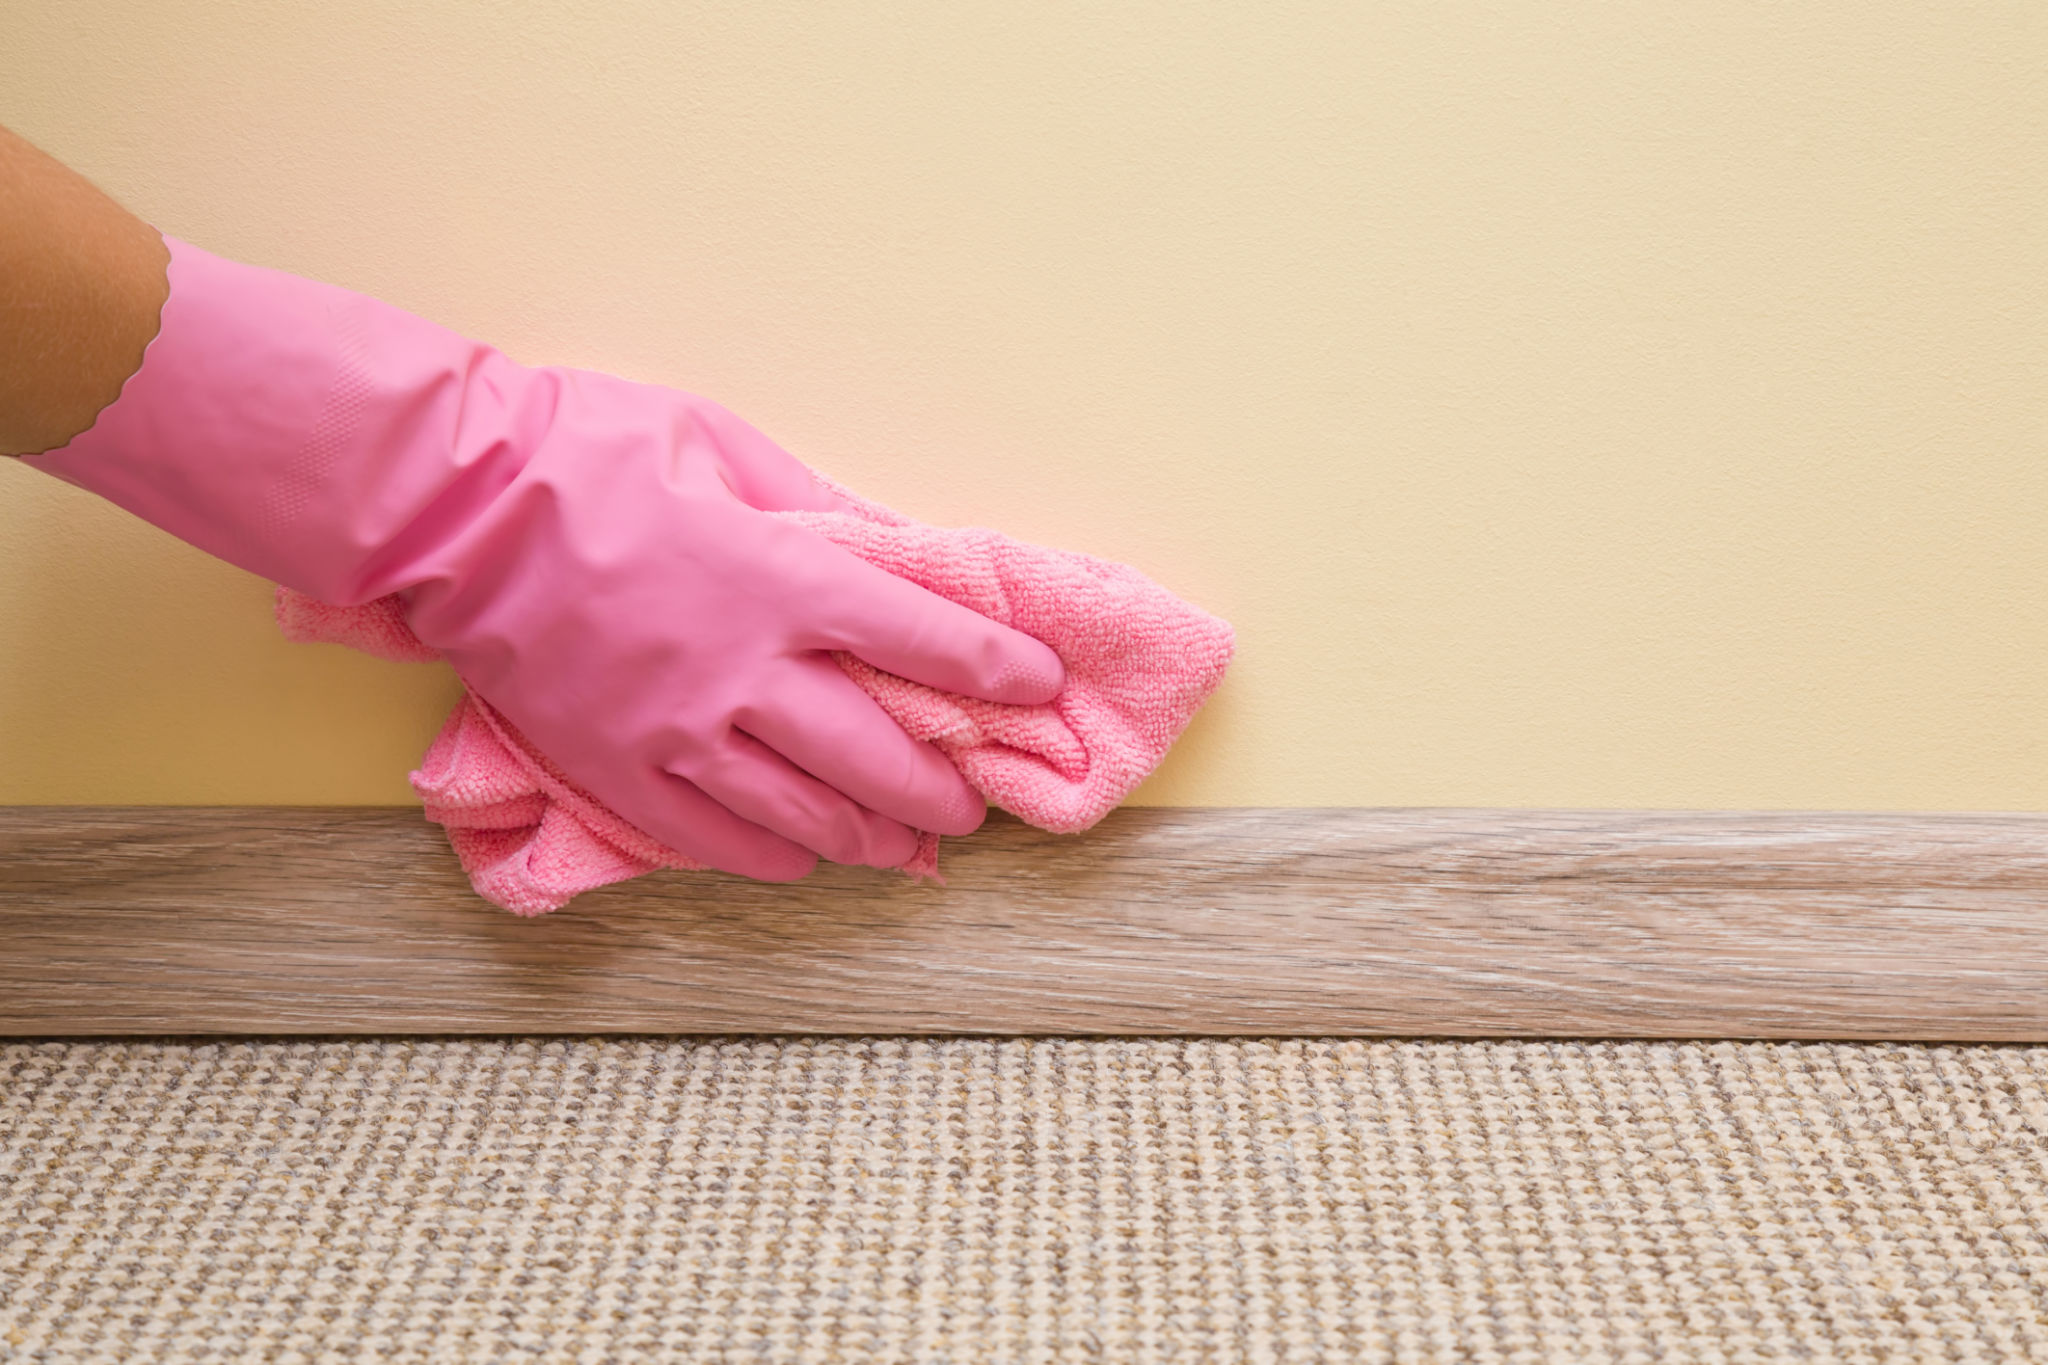
Start by cleaning your walls to remove any dust, grease, or grime. Dust and dirt can prevent paint from adhering properly, leading to peeling or chipping. Use a mild detergent mixed with water and a sponge to wipe down the entire surface. For stubborn stains or kitchen walls, consider using a stronger cleaning agent designed for walls.
Repairing Imperfections
Once the walls are clean, inspect them for any imperfections such as holes, cracks, or dents. Use spackle or joint compound to fill these areas, and allow it to dry thoroughly. After drying, sand the repaired spots until they are smooth and level with the rest of the wall. This step is crucial for achieving a seamless finish.
Sanding for Smoothness
Sanding is an essential part of wall preparation, especially if your walls have been previously painted or are textured. Use fine-grit sandpaper or a sanding block to gently sand the entire surface. This process helps to create a smooth base for your primer and paint and removes any remaining rough patches or old paint drips.

Priming Your Walls
After sanding, it’s time to apply a primer. Priming is vital because it seals the wall surface, provides a uniform base for your paint color, and enhances paint adhesion. Choose a primer that is suitable for your wall type and the paint you plan to use. Apply it evenly across the walls and let it dry completely before proceeding to paint.
Final Checks Before Painting
Before you start painting, do a final check of your preparation work. Ensure all areas are smooth, primed, and ready for paint. Double-check that painter's tape is securely in place to protect non-paint areas such as trim and ceilings. Doing these checks will help you avoid any mishaps during painting.
With your walls properly prepared, you’re now ready to start painting. The thorough preparation will pay off with an exquisite finish that transforms your interior spaces.